Articles, Tips & Tricks and Tutorials

Workflow of designing and manufacturing jewellery utilising CAD
Workflow of designing and manufacturing jewellery utilising CAD
Jewellery CAD designers and technicians should be familiar with the design of jewellery production processes to have a better understanding of their job position in projects and to be able to make better decisions. This section summarises the steps of designing and jewellery manufacturing.

Workflow of designing and manufacturing jewellery utilising CAD and 3D printers
Idea generation and design
Idea generation and design are the early stages of product manufacturing. The jewellery designer begins preliminary design and develops ideas by identifying consumer and market demands and utilising methods and tools such as a mood board. Not only does a jewellery design need to look appealing, but it must also be economically and structurally practical.
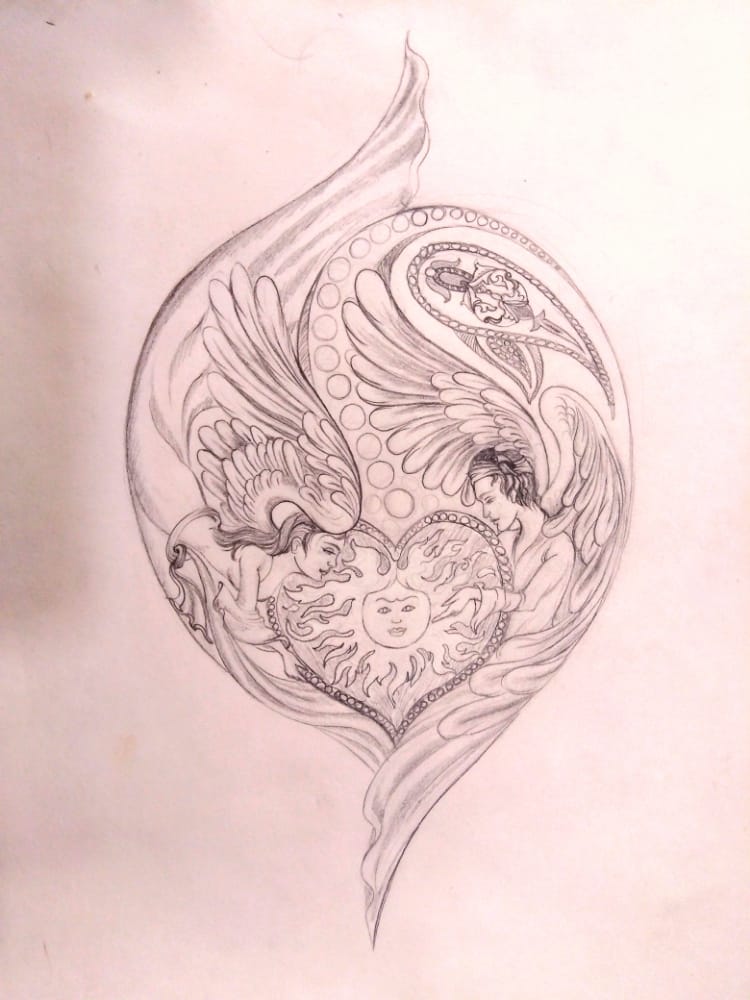
An example of an initial sketch that I used for my final design 'Sun & Love' pendant
3D modelling (CAD)
After the design gets approved and finalised, the CAD designer and technician will transform the 2D design into a 3D model by employing modelling software.

Digital sculpted Jewellery in 3D by using ZBrush
3D printing
The digital 3D model is then submitted to the rapid prototyping department, which uses 3D printers to create a prototype of resin or wax. The printed sample is usually delivered to the design and technical team for final inspection and control. Furthermore, if the printed model is manufactured of high-strength resin, the client can check it, wear it, confirm the design or request modifications if necessary. For instance, the client can try on a resin ring to ensure the correct size. Because of their brittleness, wax 3D printed models are often utilised for direct casting and cannot be worn or tried on.
Moulding
Moulding is a technique for mass or batch producing jewellery at a lower price. The following are two extensively used ways for moulding the main patterns of jewellery:
Vulcanised rubber moulding
Vulcanised rubber moulds are generated by sandwiching the pattern jewellery prototype between multiple layers of sheet rubber and pressing them at high temperatures ranging from 140 to 160°C. Then, this is cut into two halves. These moulds require jewellery patterns composed of metal or 3D printed resin with high compressive strength and thermal resistance. This moulding form often has lower raw material costs and significantly longer service life (10 to 50 years) than silicone moulding (with a maximum service life of 3–5 years). In addition, vulcanised rubber moulds are ideal when the original pattern includes minute features and holes or when greater tensile force is required to remove the original design from the mould.
Silicone moulding
Moulding using silicone material is done at room temperature and with very little pressure applied to the original pattern. The original design can be 3D printed using ceramic resin with the capability of being a mould, and a silicone mould can be created using this process. First, liquid silicone is poured into a mould, filling up the spaces surrounding the model, and then the liquid solidifies over a short period of time. The mould is then divided into two halves, and the original model is extracted. This mould type is easier to manufacture than vulcanised rubber moulds, but it has a shorter service life (3–5 years) and higher raw material expenses.
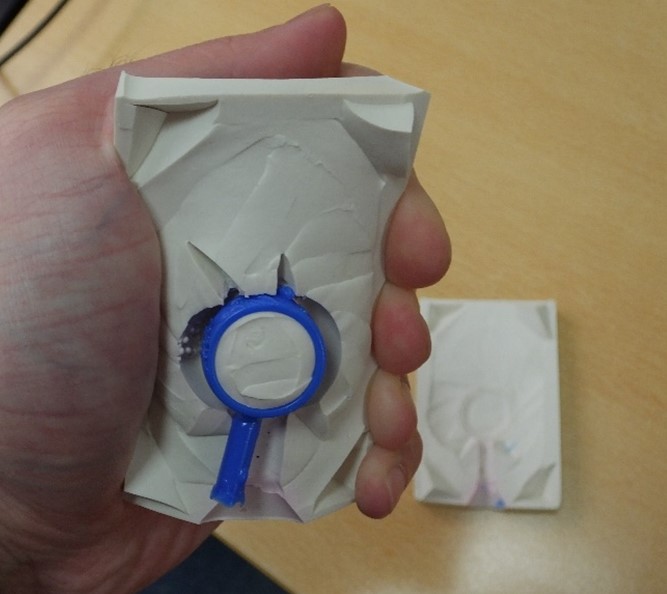
An example of a silicone mould (white) with wax (blue) injected into it
Casting
In this step, jewellery models that have been created from wax injected into moulds or 3D printed wax or resin with casting capabilities are connected together like a tree branch. They are then placed inside a cylindrical casting container (flask).
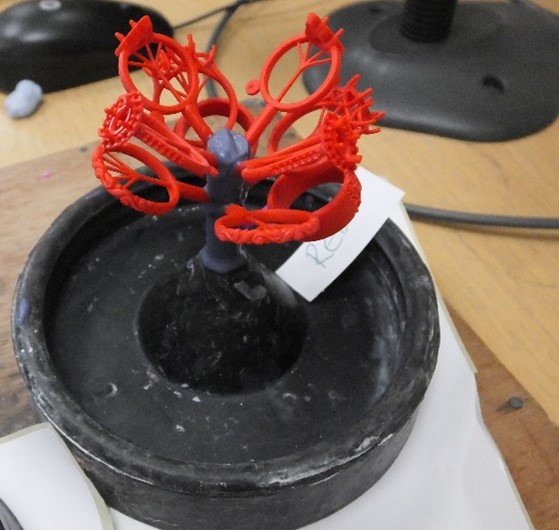
The main trunk is made of wax. Heat and wax attach the models to the tree at an angle.
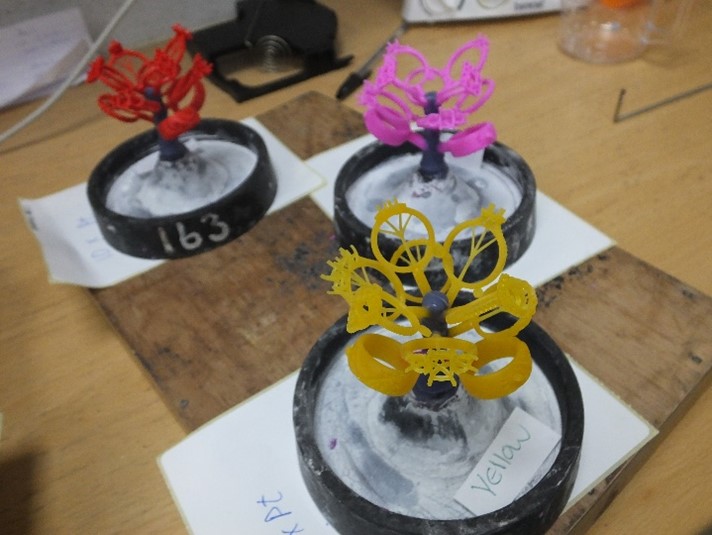
The patterns are arranged like branches on the base of the flask.
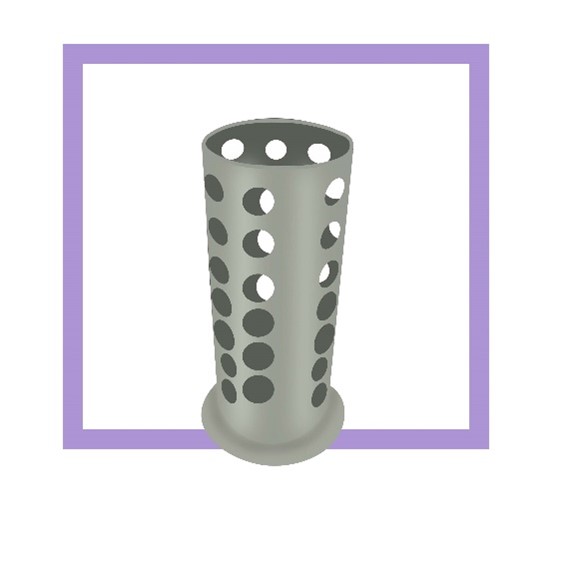
Vacuum casting flask
The container is then filled with liquid casting plaster, which fills the space around the wax. The container is then placed in a vacuum machine to remove the air from the plaster. After a certain time, the plaster firms and ready to put the casting flask into the furnace.
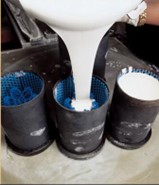
Pouring casting plaster into a flask containing jewellery tree
The casting cylinder is then placed in a furnace at a predetermined temperature, causing the wax to burn out and flow through the cone-shaped hole at the bottom of the casting container.

Diagram of furnace temperature change for plaster burnout in a casting flask and resin evaporation
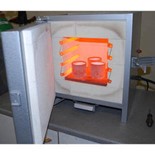
Wax is typically melted at a low temperature of approximately 70°C. As a result, the wax is totally melted and drained from inside the casting cylinder mould at a low temperature.
3D printers and wax-containing 3D printing materials can also be used for casting, known as direct casting. However, the melting point of 3D printing materials may vary depending on the percentage of wax utilised. Furthermore, after melting, these materials can produce ash, which can reduce the quality of the casted metal surfaces.
Comparison between injected wax, injected wax, 3D printed resins and wax in the in different temperatures
In the image below, samples of injecting wax (pink), plastic injected in a metal mould (white), resins for 3D printers containing various amounts of wax (red and yellow samples) and a sample of 100% wax specifically for 3D printing (purple) are placed in a furnace at various temperatures in stages. The injecting wax and 3D printed wax with 100% wax melted entirely at temperatures below 100°C. Other 3D printed samples with a percentage of resin, on the other hand, did not melt, even at temperatures above 300°C. In some situations, the wax within the 3D printed samples melts at a lower temperature, earlier than the resin, resulting in cracks within the models.
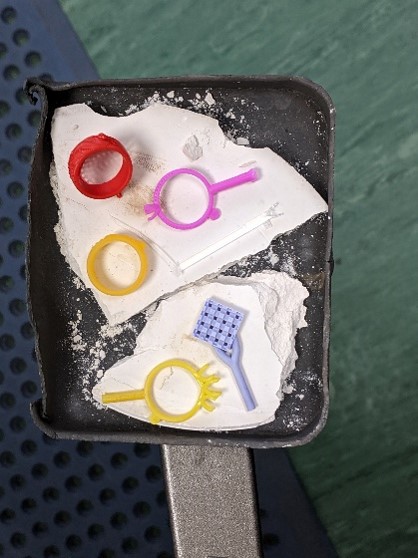
Samples of resin and wax before inserting into the furnace
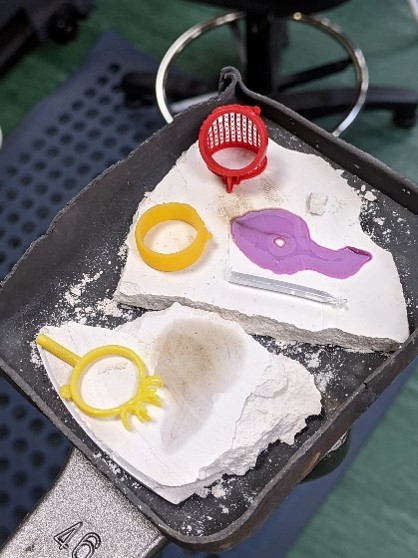
Illustration of what the samples look like after 30 minutes in the furnace at 100°C
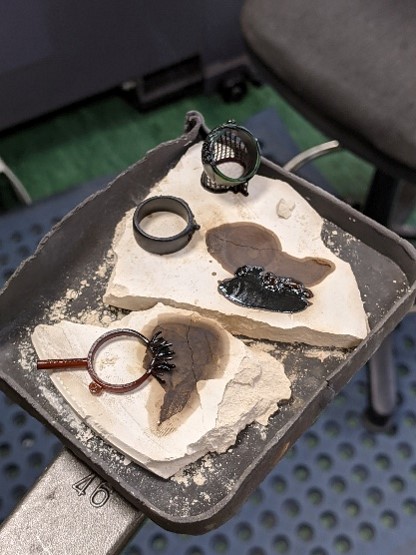
Results after 30 minutes at 100°C, 55 minutes at 250°C, and 20 minutes at 310°C
Finally, the molten metal is poured into the cavity of the flask and fills the void left by the vaporised wax, forming models placed inside the casting cylinder (flask). In the next step, the flask is immersed in water and then, using high-pressure water, the remaining plaster is removed from the jewellery.
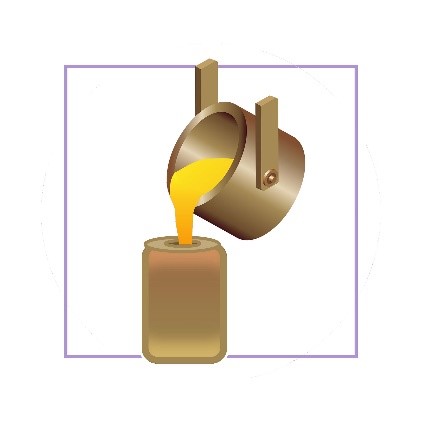
During the casting process, the flask is filled with molten metal.
Currently, two common casting procedures are employed, particularly for precious jewellery:
Centrifugal casting
Centrifugal casting is a method of transferring molten metal into a mould using centrifugal force. The casting cylinder is placed in a centrifugal casting machine in this technique. The molten metal is then poured into a special container in front of the cavity at the end of the casting cylinder or flask. The inner rod of the casting machine then begins to rotate 360 degrees, causing centrifugal force. The molten metal is forced into the cylinder at speed and fills the empty area left by the discharge of molten wax or resin using the weight of the molten metal and centrifugal force.
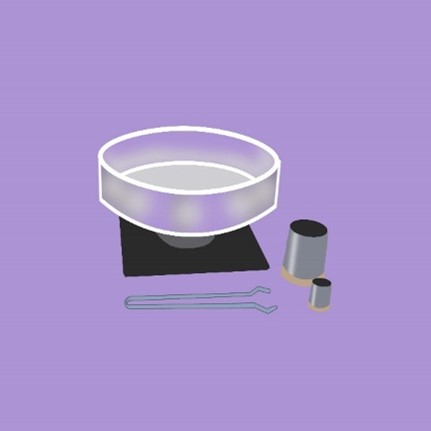
Centrifugal casting machine
Due to friction with the mould walls, the molten metal loses temperature, causing the liquid metal to shrink and leave space in the mould. However, the gravitational pressure caused by centrifugal casting forces the molten metal to flow further into the mould, filling the void created by the shrinkage of liquid metal. Consequently, casting porosity and inclusion caused by shrinkage during the casting process are greatly prevented.
Although centrifugal casting is practical for casting a wide range of metals, it is most typically employed for metals with high melting points, such as platinum, palladium and steel, due to its capacity to cast at very high temperatures (up to 2000°C).
Vacuum pressure casting
Vacuum casting takes place in an isolated and oxygen-free environment. Furthermore, the metal melting stage occurs inside the casting machine, in a closed space and under a vacuum. Consequently, the metal is prevented from oxidising after casting, making alloys with high melting points, such as platinum, hard to cast. As a result, metals with lower melting points, such as gold and silver, are employed in vacuum casting.
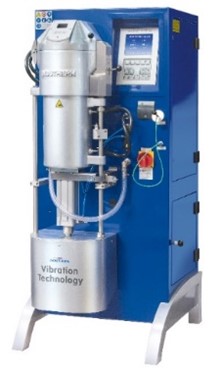
Vacuum pressure casting machine
Cleaning/buffing

Samples of casting pieces
After the casting piece has cooled, the surface is cleaned and polished with jewellery files and emery paper, and any flaws that emerged from the previous procedures are detected and corrected.

Cleaning, filing and buffing jewellery after casting
Mounting
The next task is mounting the components. If the model is cast in two or more separate pieces, the mounter binds the pieces together using laser welding or binding wire and soldering after polishing each part. Designing and casting jewellery in multiple pieces may be due to various reasons, such as easier access to different sections of the model to clean them and different colours and alloys of metals to be cast, like casting a yellow gold piece and other portions using white gold or platinum.

Soldering and mounting jewellery parts together
Stone setting
The stones are set into the jewellery in various ways in the stone setting process. The jeweller or stone setter was traditionally in charge of creating the claws and holes for the stones. However, many stages of this process are now performed with remarkable accuracy and speed by utilising modelling software. The basics and standards linked to many forms of stone setting in CAD are presented in the third part of this chapter, along with images.
Micro-setting is a term used to describe the usage of advanced micro-setting equipment, such as powerful and advanced magnifiers (microscopes) and engraving machines.
Pictures of micro-setting equipment

Graver for bright cutting

Block Workholding Vice

Micro-setting tools
Polishing
At this point, the surface is polished to a radiant or matte finish, as preferred by the designer or customer, using a polishing motor. Finally, the jewellery is cleaned using ultrasonic and steam instruments.

Using ultrasonic to wash and clean jewellery after polishing

Using steam for drying jewellery and final cleaning process
Summary:
In this article, we have delved into the intricate workflow of designing and manufacturing jewellery utilising CAD technology. From the initial stages of idea generation and design to the final steps of polishing, each phase has been meticulously explained. We've covered the use of 3D modelling software for creating intricate designs, the implementation of 3D printing for prototyping, and the various moulding techniques employed for mass production. Furthermore, we've explored the casting processes, including centrifugal casting and vacuum pressure casting, as well as the crucial steps of stone setting and polishing. By integrating modern technology with traditional craftsmanship, this workflow ensures the creation of high-quality jewellery pieces that meet both aesthetic and functional standards.
To stay updated on the latest articles and insights in jewellery design and manufacturing, as well as exclusive offers and updates, don't forget to visit the home page of my website at hamedarab.academy and subscribe to the newsletter by adding your email. Join the community of jewellery enthusiasts and professionals today!
Would you like to receive the latest tutorials, tips & trick in your inbox?
